

Understanding Construction Dust and Where It Hides
Construction dust isn't just on visible surfaces. It settles into air vents, behind baseboards, and inside cabinets. Here's what you actually need to clean.
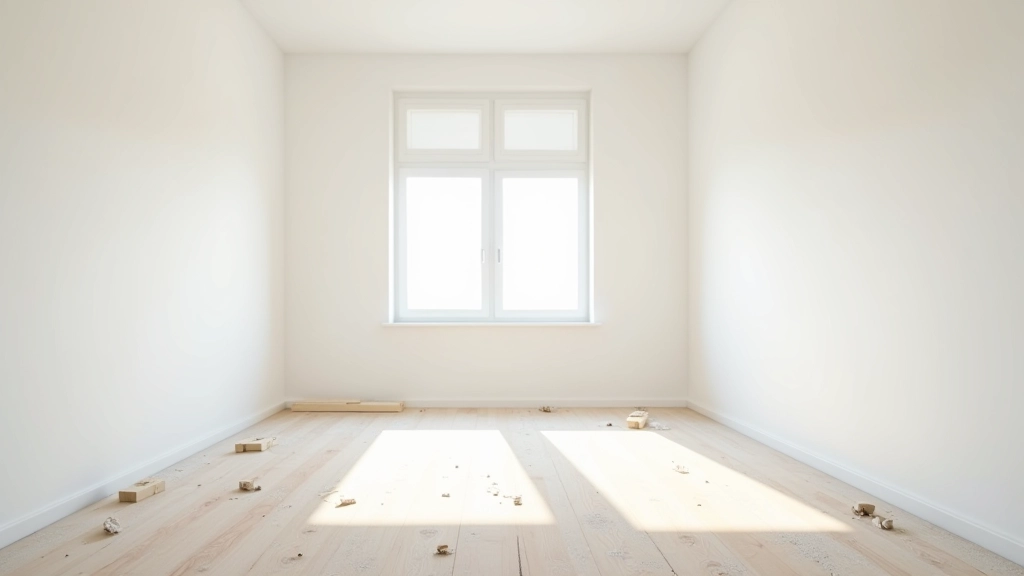
Why Construction Dust Is Harder to Clean Than You Think
You finish renovations and think the worst is over. The workers leave, the visible debris is gone, and you're ready to move in. But here's the problem: you're only seeing about 20% of the actual dust. The rest is hiding in places you wouldn't normally look.
Construction dust isn't like regular household dust. It's finer, more persistent, and it travels. Particles from drywall sanding, concrete cutting, and paint prep don't just settle on floors. They get into your HVAC system, coat the insides of light fixtures, and settle on the top of ceiling fans where you'll never notice them until weeks later.
We've cleaned hundreds of apartments across Pardubice, and the same hidden dust spots show up every single time. Once you know where to look, cleanup becomes manageable. Before that, you're just chasing dust around.
The Hidden Dust Locations Nobody Mentions
Most people start by vacuuming floors and wiping counters. That's necessary, but it's only the beginning. The real dust lives in places that require specific attention.
Air Vents and HVAC Returns
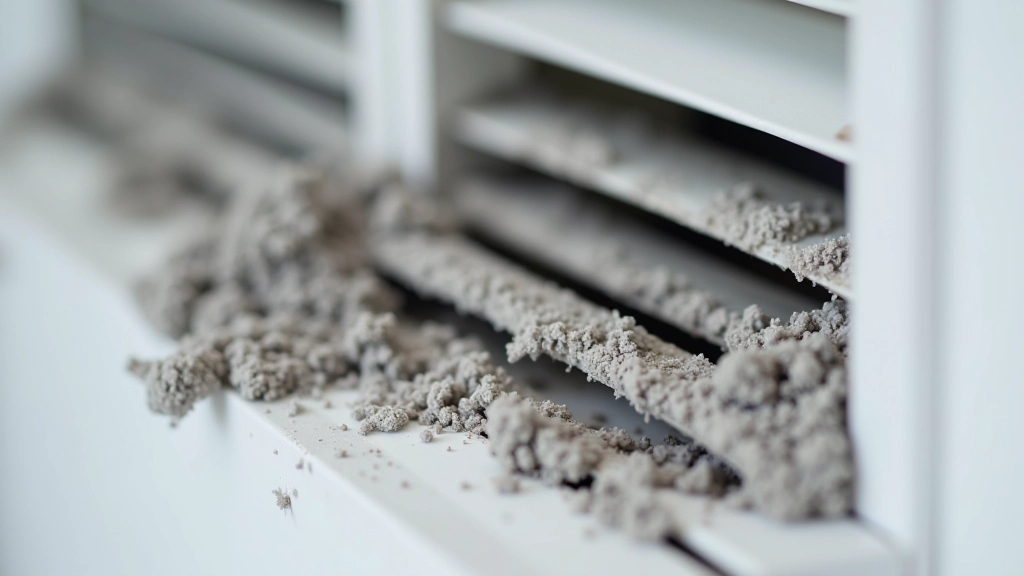
This is where construction dust loves to hide. When workers are cutting drywall or sanding, fine particles get sucked directly into your ventilation system. You'll see a thin gray coating on return air grilles. That's just the visible part. Inside the ducts, there's significantly more accumulation. If you don't clean these first, you'll be spreading dust throughout your apartment for months.
Start by removing the grille covers and vacuuming what you can reach. For deeper cleaning, you might need a professional duct cleaning service. It's not glamorous, but it makes a real difference.
Inside Cabinets and Closets
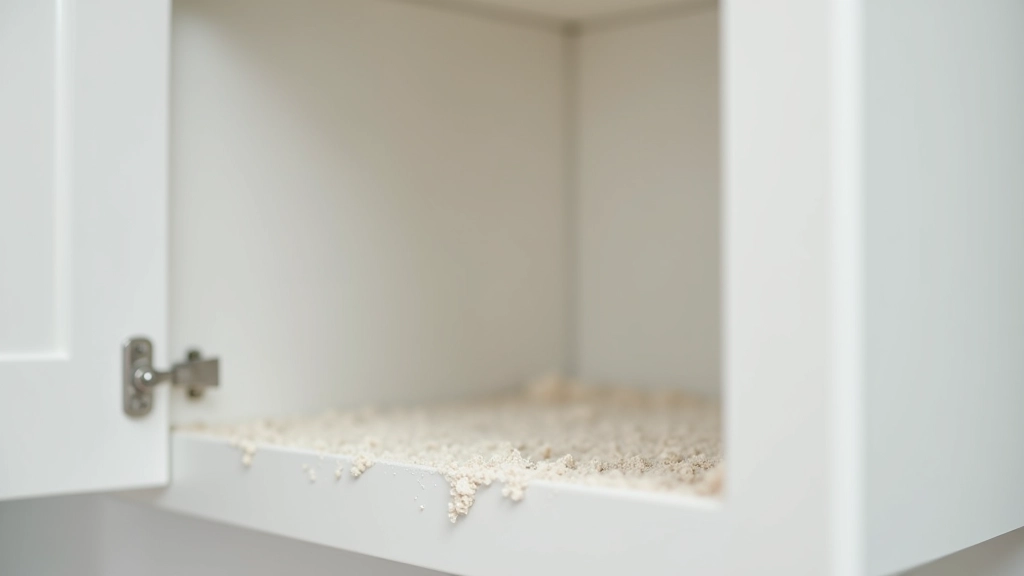
Even if your cabinet doors were closed during renovation, dust still got in. Construction dust is microscopic enough to slip through tiny gaps. You'll find it coating the inside of cabinet shelves, on the backs of shelving units, and inside the toe kicks at the bottom.
Open every cabinet and closet. Use a damp cloth instead of dry wiping — dry cloth just moves dust around. Work from top to bottom so gravity helps. Pay special attention to the corners and the areas where shelves meet the walls. That's where dust settles heaviest.
Pro tip: Don't put items back until you've cleaned the interiors completely. You'll be frustrated if you discover dust weeks later after stocking shelves.
Behind Baseboards and on Top of Trim
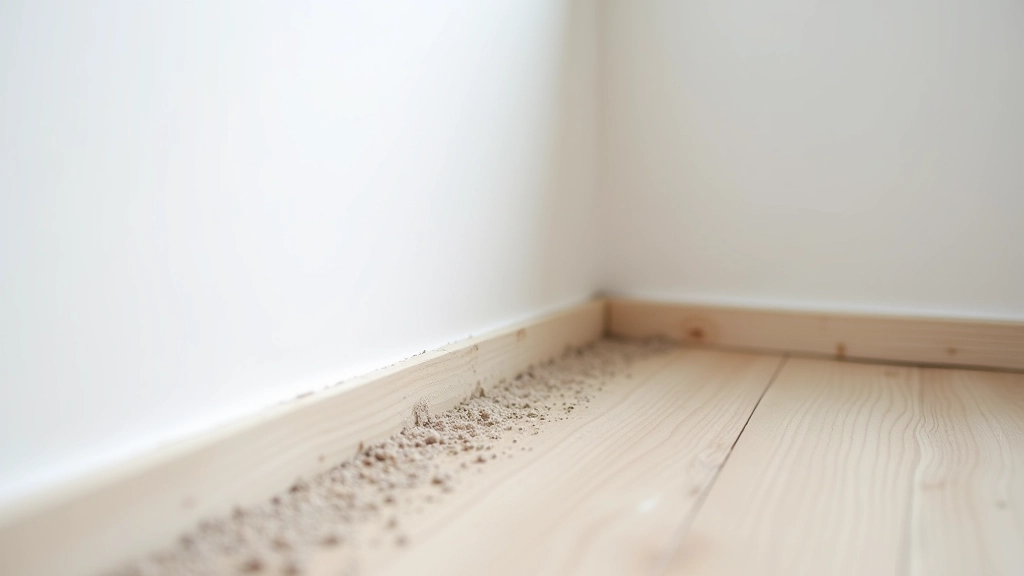
Baseboards and door trim are perfect dust collectors. Construction dust settles on top of the trim where it's visible, but also behind baseboards in that gap between the wall and the baseboard itself. You can't see it, but it's definitely there.
For the top surfaces, a damp cloth works well. For behind baseboards, you'll need something thin. A flexible plastic ruler or old credit card wrapped in a damp cloth can slide into that gap and pull out accumulated dust. It takes patience, but you'll be surprised how much you find.
Light fixtures are equally problematic. Dust settles on top of ceiling light covers, inside lampshades, and on the bulbs themselves. Turn off the lights, let them cool, then wipe everything down. Don't forget the fixture mounting hardware where dust accumulates.
The Overlooked Spots Everyone Misses
Window Sills and Tracks
Window tracks accumulate dust like nowhere else. The horizontal grooves trap particles perfectly. Use a dry brush or old toothbrush to loosen the dust first, then vacuum it up. For stubborn buildup, a damp cloth wrapped around a flat tool works well.
Light Fixtures and Bulbs
Dust on light bulbs reduces brightness by up to 25%. Wipe all bulbs, fixtures, and the inside of covers. Make sure everything is cool and unplugged before touching anything electrical. You'll notice how much brighter your apartment becomes.
Ceiling Fans and Vents
Ceiling fans are dust magnets. The top surface of each blade collects a thick layer you can't see from below. Wipe each blade carefully with a damp cloth, working from the center outward. Don't forget the motor housing and the downrod.
Door Frames and Handles
Door frames have a horizontal surface on top where dust settles. Door handles and hinges collect dust in their crevices. These spots are easy to overlook but they accumulate visible grime quickly. Wipe everything with a damp cloth and pay attention to corners.
Pipes and Radiators
Any exposed pipes or radiators collect dust on top and between the fins. Radiators are particularly problematic because dust buildup reduces heating efficiency. Use a radiator brush or old toothbrush to get between the fins, then vacuum up the loose dust.
Electrical Outlets and Switches
Dust builds up around outlet edges and switch plates. Turn off the power, then use a slightly damp cloth to wipe around the outlets and switches. Be careful not to get moisture inside the openings. The dust here is visible and makes your walls look dingy.

Related Articles


Construction Dust Cleanup Takes Time, But It's Worth It
The difference between a quick surface clean and a thorough dust removal is noticeable. You'll breathe easier, your apartment will look better, and you won't discover hidden dust buildup weeks later. It's frustrating work, but it's not complicated.
Start with the hidden locations first — air vents, cabinet interiors, behind baseboards. Then work on the visible surfaces. Don't rush. Most people underestimate how much dust actually exists until they start really looking for it. Once you've cleaned these spots thoroughly, maintenance cleaning is straightforward.
If you're dealing with extensive renovation in a large space, professional cleanup services exist for a reason. They've got the equipment and experience to handle it efficiently. But for standard apartment renovations, understanding where dust hides is half the battle.
Disclaimer
This article is informational only and provides general guidance for post-renovation cleanup. Construction dust characteristics and cleanup requirements may vary depending on the specific materials used during renovation, local environmental conditions, and individual sensitivities. Results from cleanup efforts depend on factors including the extent of renovation, equipment used, and cleaning techniques applied. For extensive renovations or health-related concerns, consult with professional cleaning services or healthcare providers as appropriate to your situation.